1.簡單的Controller映射
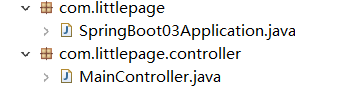
1.新建一個controller包,包一定在啟動器的下一層級
?
SpringBoot項目??2.可以在application.properties中進行調整端口和context-path參數
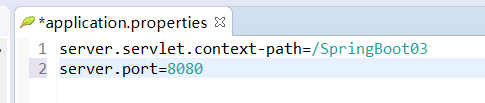
server.servlet.context-path=/SpringBoot03
server.port=8080
3.MainController配置
package com.littlepage.controller;import org.springframework.stereotype.Controller;
import org.springframework.web.bind.annotation.RequestMapping;
import org.springframework.web.bind.annotation.ResponseBody;@Controller
@RequestMapping("/MainController")
public class MainController {@RequestMapping("/list")@ResponseBodypublic String list() {return "list";}
}
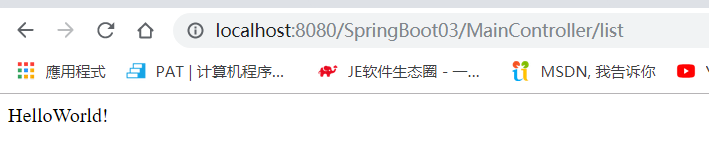
這樣可以直接進行訪問localhost:8080/Spring03/MainController/list
java boot,@ResponseBody表示響應體,可以響應直接返回的值
4.返回一個list
@Controller
@RequestMapping("/MainController")
public class MainController {@RequestMapping("/list")@ResponseBodypublic List<String> list() {List<String> arr=new ArrayList<>();arr.add("5");arr.add("5");arr.add("5");arr.add("5");return arr;}
}

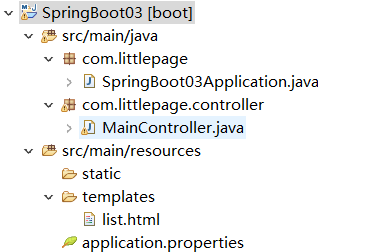
5.返回頁面,在starter中進行添加thymeleaf引擎
@Controller
@RequestMapping("/MainController")
public class MainController {@RequestMapping("/list")public String list() {return "list";}
}
?
?默認是html文件
<!DOCTYPE html>
<html>
<head>
<meta charset="UTF-8">
<title></title>
</head>
<body>HelloWorld!
</body>
</html>
?
2.thymeleaf模板的簡單使用
@Controller
@RequestMapping("/MainController")
public class MainController {@RequestMapping("/list")public String list(ModelMap map) {map.put("name", "steve");map.put("age", 20);return "list";}
}

這個map處于Context域,所以我們可以通過html進行取用,thymeleaf會進行Controller過來進行渲染map
<!DOCTYPE html>
<html>
<head>
<meta charset="UTF-8">
<title></title>
</head>
<body><p th:text="${name}"></p>
</body>
</html>

3.熱部署
1).SpringBoot自帶的devtools進行熱部署

2).使用jrebel進行熱部署
注意點:jrebel的路徑不能有空格
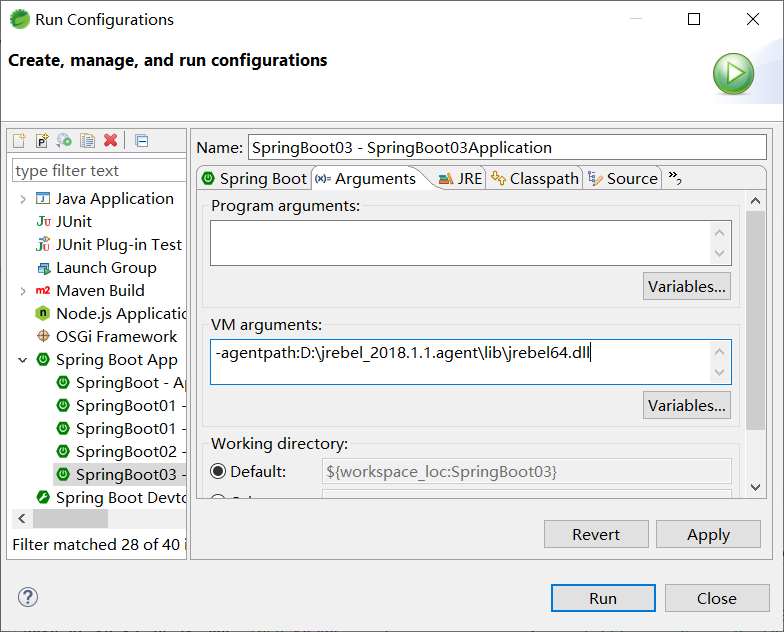
設置下運行配置即可,第一次啟動會卡住,之后運行完好,jrebel比devtools快一點,更好用
?